Important Disclaimer: I am Not Crafty. I am Not Artsy. I am the person who posts Pinterest fails next to a neat little paint by numbers YouTube video, or cutesy themed recipe. So, if you’re looking for a super in-depth painting DIY Decor Tutorial, wrong blog! Return to Pinterest, do not pass go, do not collect $200. Sorry!
Now that’s clarified, here’s my intention with this post: DIY decor via digital media and a printer (or STAPLES, if you’d rather). I prefer to do all of this in Google Drawing or Google Slides, but PowerPoint will work great too if that’s what you prefer. Let’s get down to it!
This post contains affiliate links, which means if you click through and purchase something using my links, I receive a small commission at no additional cost to you. Thank you!
Step 1: Find Your Quote
Search books, punny sayings, inspirational mottos, whatever floats your boat. Pick out something you won’t mind staring at every day because this DIY decor is going to be personalized just for you and your classroom! I find short and sweet make the best posters, because you can make text big enough to read. You could split longer quotes into multiple posters if you’d like!
Step 2: Fonts and Font Pairing
Ready to go down the DIY decor rabbit hole? Yea. Picking the quote WASN’T the hardest part. Picking a style? Your eyes miiiight go cross-eyed. It’s okay, it’s for the children. And for you. All in the interest of a pretty and personalized classroom, right? Charge ahead!
Here are a few guides on picking fonts. Skim through them and get a feel for a style you like because it will make your life easier later!
The Ultimate Guide to Font Pairing from Canva
The Beginner’s Guide to Font Pairing
15 Great Google Font Combinations For Your Next Design Project
Okay, got an idea? Everyone’s style is different! Don’t worry about picking out the PERFECT font just yet, just have a basic idea of your pairing you’re going to aim for.
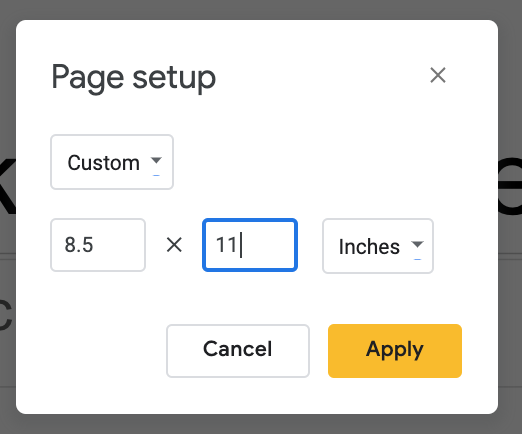
Step 3: Doc Set Up
Set your Slide or Drawing to a custom size and how you want it to be oriented. I prefer to do printer paper size (8.5×11) because then I don’t have to mess around at STAPLES or a poster printing place. This is your call! See below:
Step 4: Layout and Final Font Choice
I know it was a while ago, but when we started this DIY decor journey I had you pick out a quote. Remember that? Okay. Think about the words in the quote you want to emphasize or “pop” on your poster. Put those in first, bigger! This is also the step where I narrow down font choices from the generalized style I had in mind.
Then, add in the other words or pieces. For this, I would use the second font in the pairing. Again, play with sizing to draw attention to what you want to emphasize.
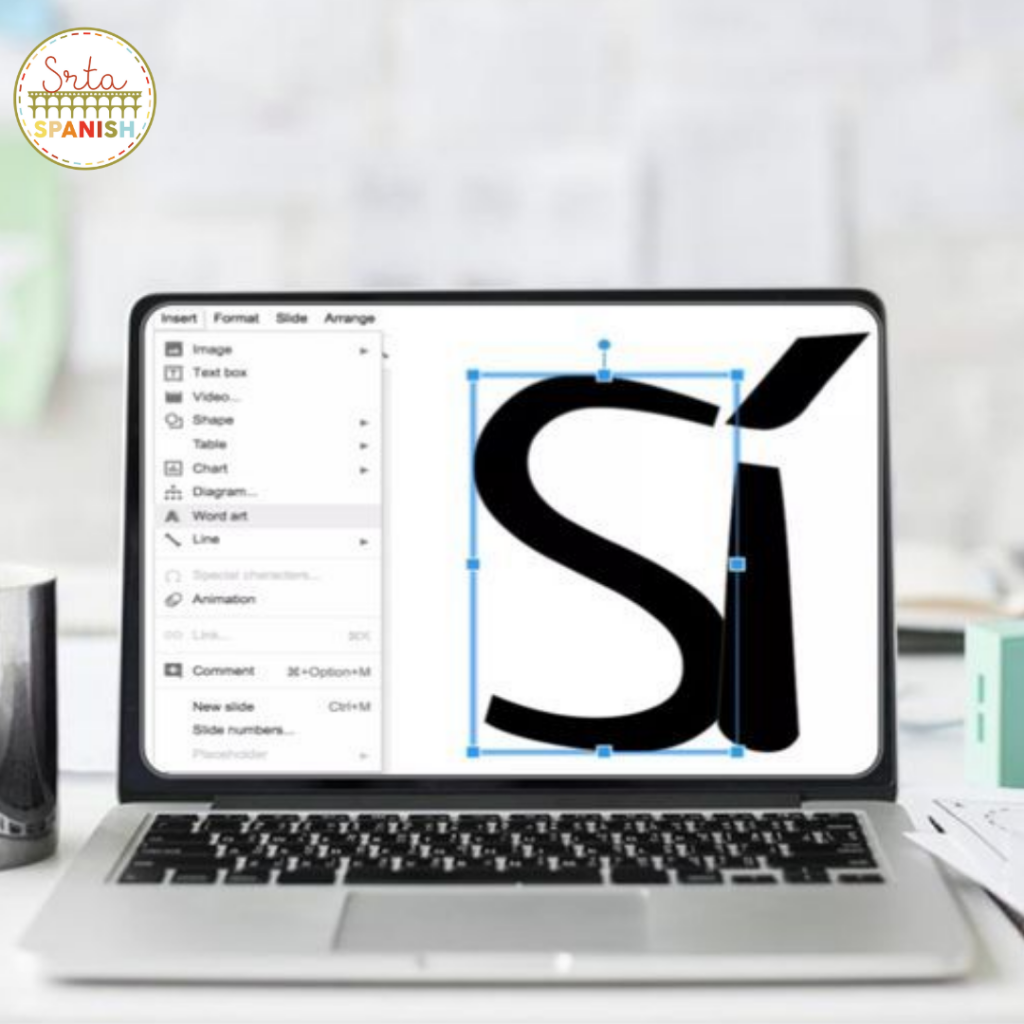
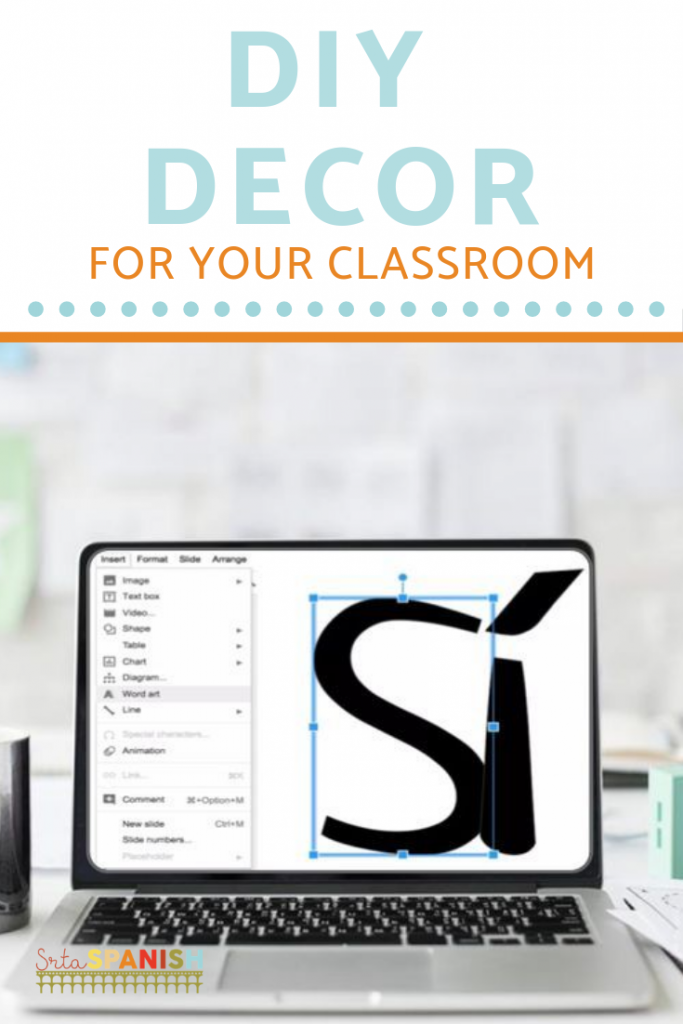
I always use Word Art for this step because it gives you the flexibility to drag and resize things exactly how you want it without having to type in a magic number. Try and keep it to 2-3 fonts (that includes bolding or italics!) to keep it visually simple.
Hint: Sometimes accents make the letter height a little funky. In the image above, the S and the I are actually two different items inserted so I could mess with the sizing just how I wanted it!
If you need some inspiration in your layout, head to Pinterest or Instagram. I love following people who hand letter because they are always squeezing things into interesting arrangements!
A P.S. Sort of Step if you Want it to Be:
If you want to make your poster with colorful text, play with that here! I tend to lean towards black text on white for a few reasons:
- It’s simpler for my non-artsy self to design.
- Cheaper printing
- You can print them on colorful paper if you want pops of color!
Step 5: Hand-drawn Elements, Clipart, and Frames
Whoa, whoa, whoa. I promised digital DIY decor and the title of this section involves “Hand-drawn”?! What gives??
After all the words are on the paper, sometimes it’s nice to add an extra element! If you search “Hand-drawn Elements” on Google Images or a free clipart site several options will pop up. You can be more specific with lines or arrows, up to you. Make sure they’re free for use and editing. Always remember to check the artist’s terms!
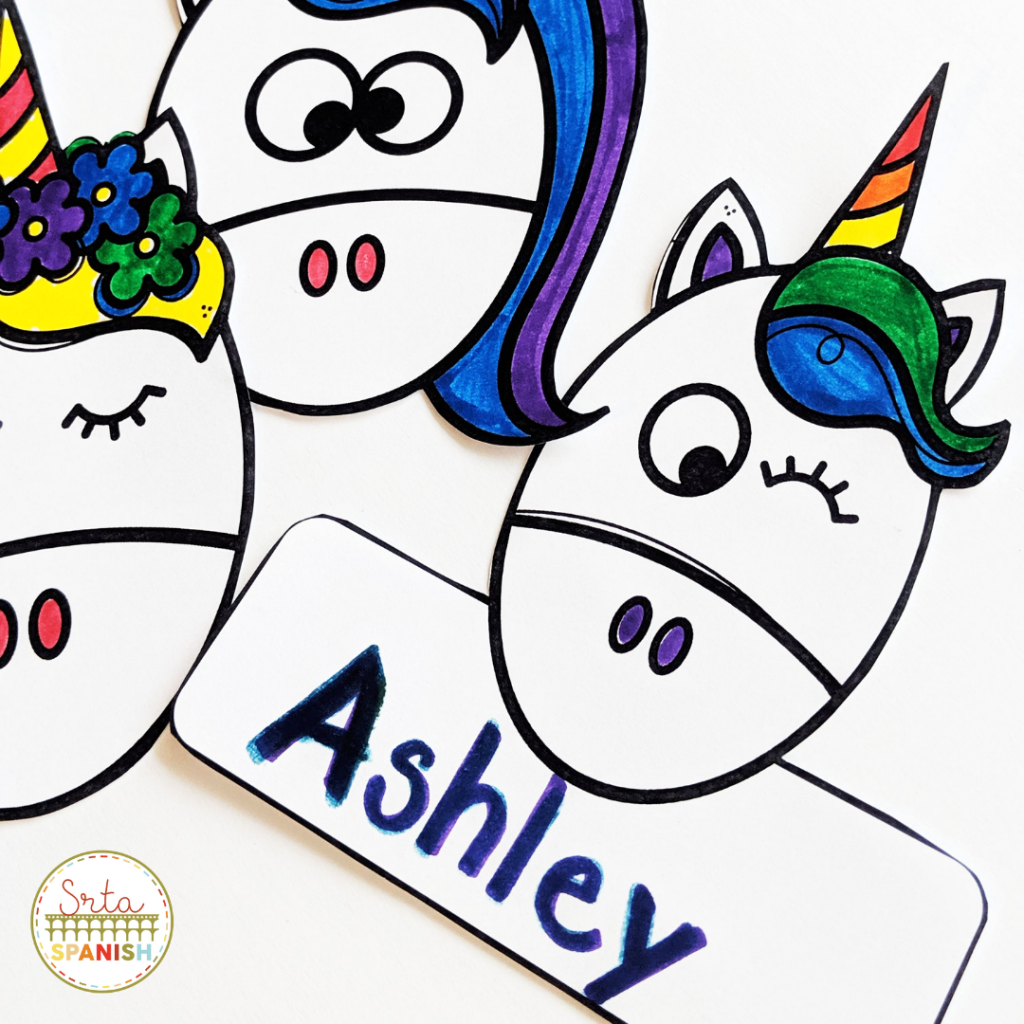
Clipart is also great for this. Sometimes I’ll find a clipart set super inspiring and make a whole bunch of posters around a theme. For example, I found this set of unicorns, and had to create a classroom display to go with it!

I loved these unicorns so much, I turned them into a display that transitions PERFECTLY from the end of the year to back to school time – it includes options for “Va a ser un verano mágico” as well as “Va a ser un año mágico”! Hang it up in May, leave it up all summer and save yourself a job when you get back to school in August! I also included name tag options in case you wanted to have students decorate their own unicorn!
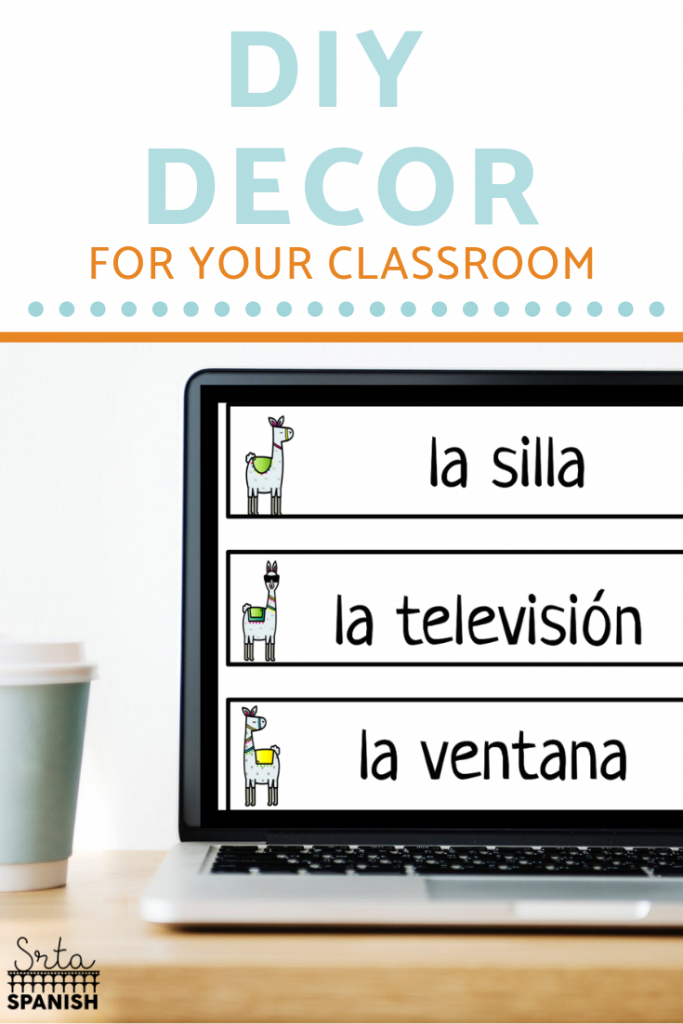
I saw a single set of llama clipart that I fell in love with and I wound up creating an entire set of classroom decor AND a get to know you bulletin board display!

Okay, can you blame me for going llama crazy with that clipart? Check out all of my llama decor here!
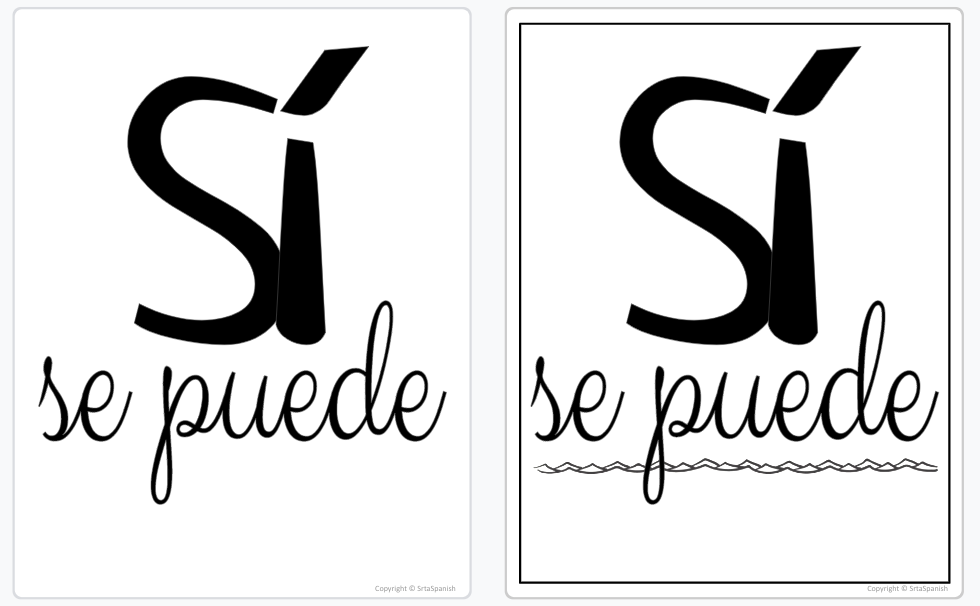
One more simple way to add another level to your posters are clipart frames! You can find a ton of frames for free on TeachersPayTeachers, but my favorite way to do it is just inserting a shape, then playing with the weight of the line until I’m happy. Here’s an example of what that looks like:
See? It’s a simple addition, but it definitely adds to the poster! BTW, I LOVE this poster set. Check out the other awesome ladies included here!
Step 6: Print!
Ta-dah! Print and go. Plain white paper, colored paper, cardstock, whatever! This is probably the easiest step of your DIY Decor.
If you WANT to be fancy you could always frame them! It could be fun to print your posters and create a gallery wall in your classroom! This set comes with a variety of sizes, but is a simple black which would be nice! Or you could always do this set of matching frames for a simple grid!

Disclaimer: Frames are NOT the size of a piece of computer paper. My artfully challenged self THOUGHT it would be fine to print and just trim, but after 4 off-center attempts I returned to my Drawing and resized it to 8×10, then inserted a thin black frame around the outside of the Drawing. When I printed all I had to do was cut it out! Boom, centered. Learn from my mistakes.
Show Me Your Work!
There! DIY Digital Decor, hopefully just in time for your Back to School frenzy, and definitely cheaper than the Target Dollar Spot! If you wind up trying this for your classroom (or home) I’d love to see how it turns out! Tag me on Twitter or Instagram! Have fun!
Oh! One more thing! You may like this FREEBIE of classroom posters. Snag it from my TeachersPayTeachers store!

[…] if you have some time and want to play around with making your own signs, I recommend this post on DIY Decor from Ashley. She also claims not to be artsy- so it looks like something everyone can […]