If your students are “heading” to Panama on an upcoming unit, you’ll love this simple art project! Check out how to make molas de Panama in a few easy steps, with art supplies you likely already have on hand.
How to Make Molas for Kids
One of my guidelines for doing a project with students is that it needs to be simple and relatively mess free. This project ticks those boxes and is easy for kids to feel successful and come up with a final project that looks great on display.
This art project would also work well as a collaboration poster for a bulletin board, having all students add elements to one big design instead of several individual intricate designs – but it’s up to you!
How to Make Molas for Kids Lesson Plans
I think it’s important to give them some background knowledge on the history and culture of the art they are trying to replicate. Before students make their own molas, let’s give them some information on where they come from in Central America, and how they are made.
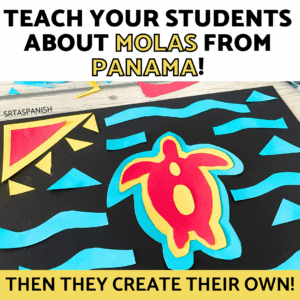
This lesson plan is simple:
- Prep by printing copies of the reading: choose English, Spanish, or a simplified Spanish
- Read the passage together. You can do a close reading activity, or any reading activity you’d like
- Show them some examples of molas in real life
- Explain the craft, using the tutorial video
- Students make their own version

It’s super simple to teach kids how to make molas with this lesson!
How to Make Molas for Kids Video Tutorial
Watch the video tutorial on Youtube here!
Materials Needed
Here are the materials you need to teach how to make molas:
- construction paper (scraps are fine)
- scissors
- glue
- a pencil, if you want to trace or draw out the shapes
- stencils (download a set here!)
That’s it! It’s fun if the construction paper is in bold colors, but any colors you choose are fine!
Step-by-Step Instructions for How to Make Molas for Kids
Here is how to make these Panamanian molas with paper:
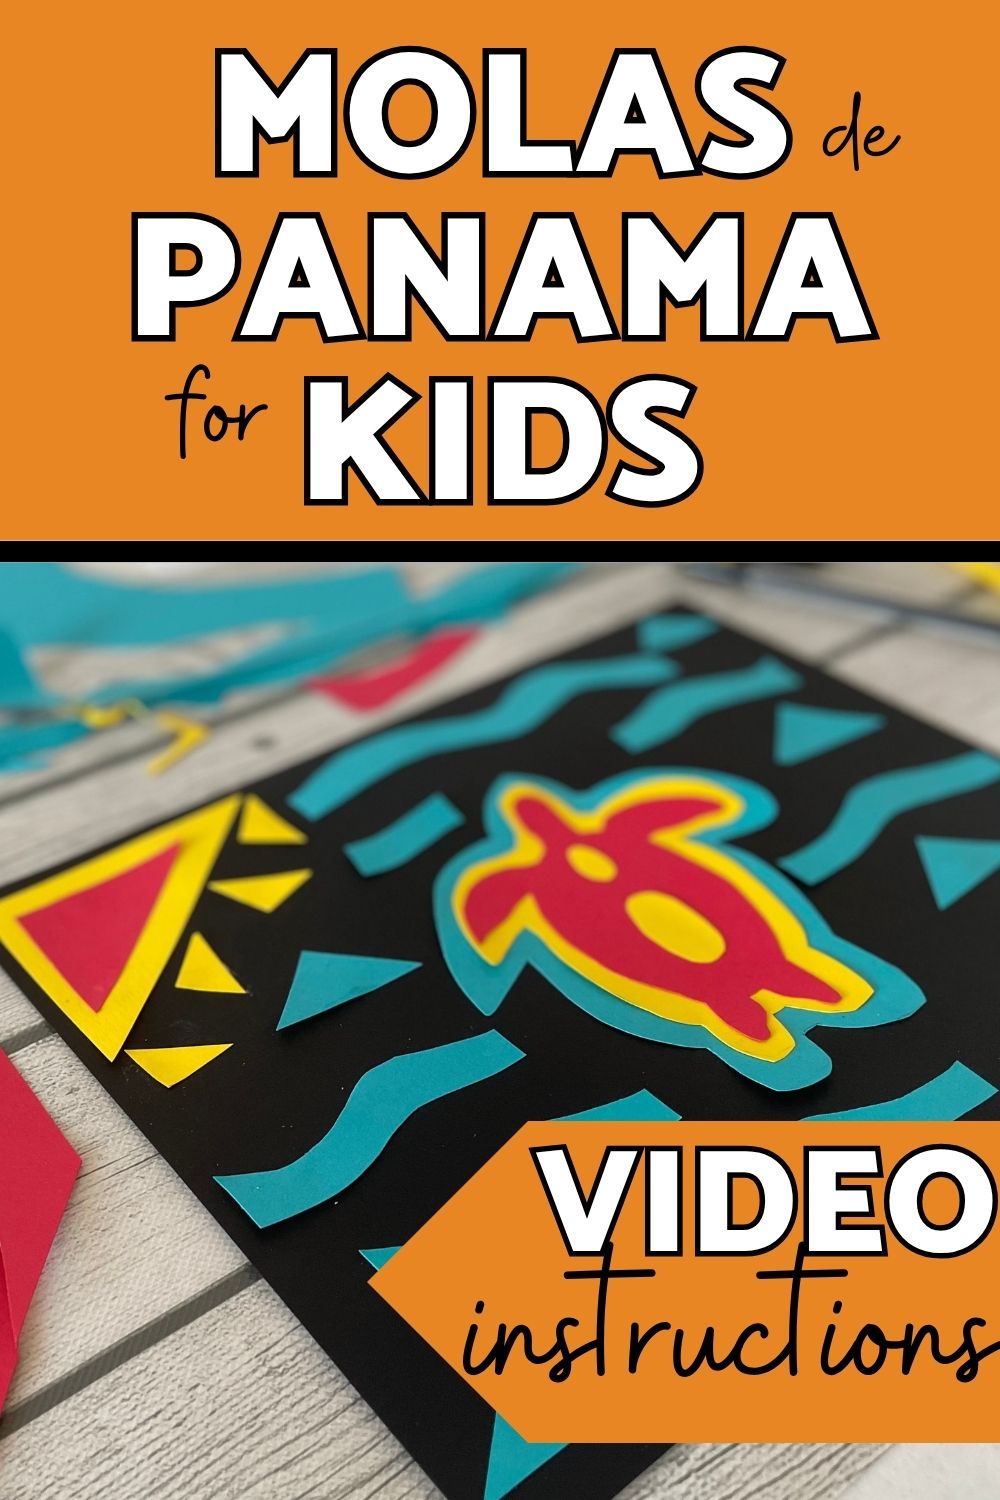
- Gather your materials: colorful paper, scissors, glue, pencil, and stencils.
- Choose the main element of your design: an animal, tree, flower, or another element found in nature is common. Here are stencils to help!
- Trace the first layer of your main element.
- Cut it out.
- Layer the first element on top of a second color of construction paper and trace a shape around it that is a bit bigger than your first layer.
- Cut the second layer out.
- Glue the first layer onto the second layer.
- Repeat this process with another color.
- Attach your element to your background piece of construction paper.
- Complete your design with additional elements, with an emphasis on symmetry and geometric shapes.
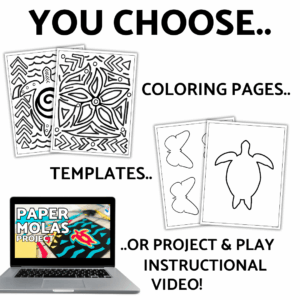
Check out the step by step tutorial video here!
Download the How to Make Molas Lesson Plan and Materials
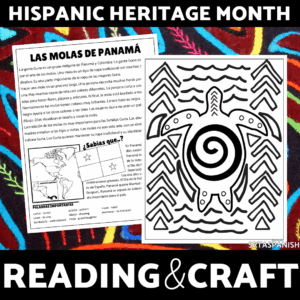
Grab all the materials you need for the lesson plan here!
This resource includes:
- 1 page reading in English (pdf format)
- 1 page reading in Spanish (pdf format)
- 1 page reading in simplified Spanish (pdf format)
- 6 coloring sheets
- 7 coloring sheets to create their own designs
- Video tutorial for project (hosted on Youtube)
- Stencils to use for the paper collage project
Save this post for later on Pinterest!
More Resources on Panama
- Resources to Teach About Panama
- Virtual Field Trip (Spanish & English)
- Country Report Project (Printable | Digital)
- Readings and activities in Spanish & English
More Resources for Hispanic Heritage Month
- Celebrate Mexico’s Independence Day
- How to Make Tissue Paper Flowers
- Learn about Different Countries
- Middle School & High School Activities for Hispanic Heritage Month


-
Sale!

Spanish Cognates Lesson Plans 1st Day of Spanish Class & First Week of School
Original price was: $22.11.$14.49Current price is: $14.49. Add to cart -
Sale!
Back to School BUNDLE
Original price was: $19.30.$15.65Current price is: $15.65. Add to cart -
Sale!
Back to School Spanish Starter Pack
Original price was: $8.45.$5.59Current price is: $5.59. Add to cart -
Sale!
RAINBOW Classroom Decor BUNDLE
Original price was: $18.41.$12.45Current price is: $12.45. Add to cart