I love using Boom Cards in the classroom, but sometimes our kiddos just need a break from the screen! Here’s a quick tutorial on how to print Boom Cards, and some ideas for what you can do with Boom Cards once you’ve printed them!

Curious about Boom Cards? Check out my other posts on them here!
- What are Boom Cards?
- 10 Reasons to try Boom Cards in Language Class
- What can you do with Boom Cards?
- Google Classroom + Boom Cards
- How to Customize a Boom Card deck
- Using Boom Cards for Guiding Your Instruction
- Comparing Boom Cards to other sites
Why Print Boom Cards?
I love Boom Cards because of all of the neat things they can do but once you print them, you sometimes lose some of that neat functionality. So why would you ever print Boom Cards? Let’s look at some scenarios:
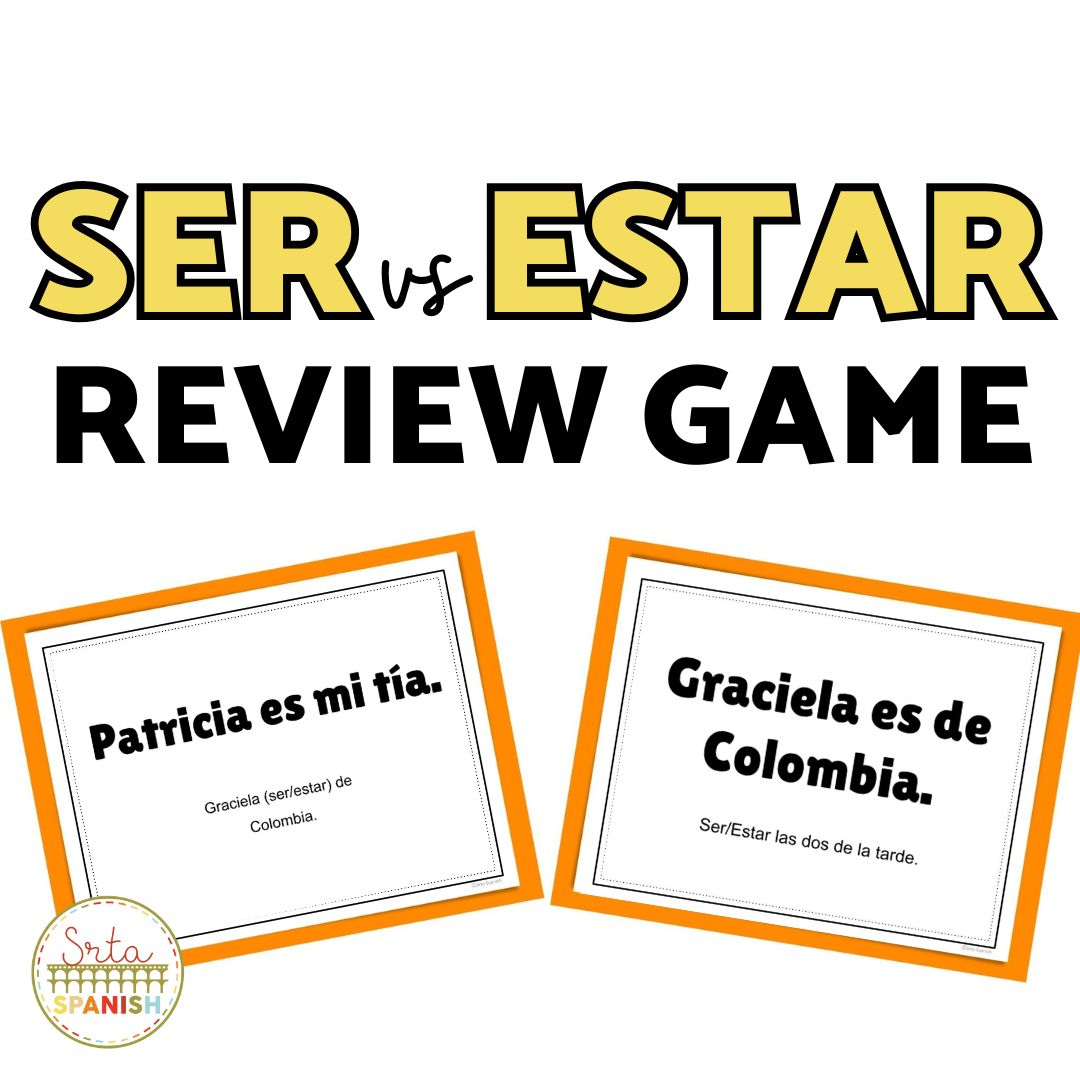
- turn them into printable task cards for your students
- use them for a quick warm up activity
- hang them around the room and have them choose 5 (or 10, or 15..your call!)
- give each student a few cards to answer as an exit slip
- turn it into a worksheet for student review
- no tech option in case a student loses technology priviledges
How to Print Boom Cards
It’s very simple to print a set of Boom Cards. Go to your Library on Boom Learning, click Action and select Print. Then just choose your formatting, click print and follow the instructions on your device!
Don’t forget to double-check that you’ve tweaked instructions on your printed versions and removed any cards that simply cannot be tweaked for the printable version (like any listening dependent cards!).
More Ideas for Using Printed Boom Cards
So you’ve printed your Boom Cards. Now what? Good news there are tons of creative ways to use those printed decks in class and your students are going to love them
Turn them into a scavenger hunt around the room
Pair students up and have them walk around to find and solve five cards together. Bonus points if they explain their answers in Spanish.
Use them for a “Find Your Match” activity
Print out a deck with questions and answers and hand one card to each student. They have to mingle and find their match. It’s like musical chairs but educational and way more fun!
Morning warm-ups, anyone
Have a few printed cards ready on students’ desks as they come in. It gets their brains moving and gives you a minute to settle in or drink your coffee while it’s still warm. Win!
Easy peasy stations
Laminate a set, pop them into bins, and boom. Instant task card stations. Students rotate around and record their answers on a sheet. Keeps them engaged and makes your life easier.
Exit slips that don’t feel like work
Give each student a printed card at the end of class. They solve it and turn it in as they leave. Boom Cards plus assessment equals teacher gold.
Make Them Work for You
Let’s be real. Printing Boom Cards isn’t just about making things cute. You want them to be useful too, right? Here are a few ways to make the most out of them
Laminate your cards
Trust me on this one. They’ll last longer and you can reuse them over and over again with dry-erase markers.
Organize by skill or topic
Sort your printed cards into folders or containers by theme. That way you’ve always got something handy for grammar, vocab, or whatever you’re working on.
Have students make their own
Let students design their own Boom Cards on paper. They’ll think it’s fun and you’ll get a little peek into their understanding. Plus it makes an awesome bulletin board display.
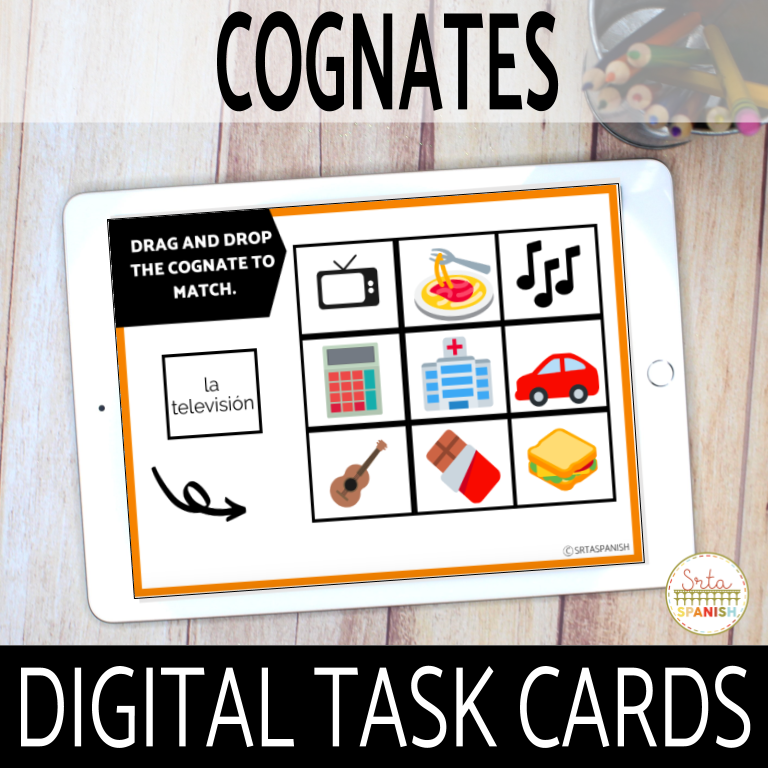
Click here to see all of my digital task cards available in one bundle! Remember, a bundle allows you to save 20% off the total price and gives you tons of ready-made options to use with your students.
Like the idea, but you’re not sure? Click here to go to my library of Boom Cards and try out a whole bunch of different sets!


-
Sale!

Spanish Cognates Lesson Plans 1st Day of Spanish Class & First Week of School
Original price was: $22.11.$14.49Current price is: $14.49. Add to cart -
Sale!
Back to School BUNDLE
Original price was: $19.30.$15.65Current price is: $15.65. Add to cart -
Sale!
Back to School Spanish Starter Pack
Original price was: $8.45.$5.59Current price is: $5.59. Add to cart -
Sale!
RAINBOW Classroom Decor BUNDLE
Original price was: $18.41.$12.45Current price is: $12.45. Add to cart